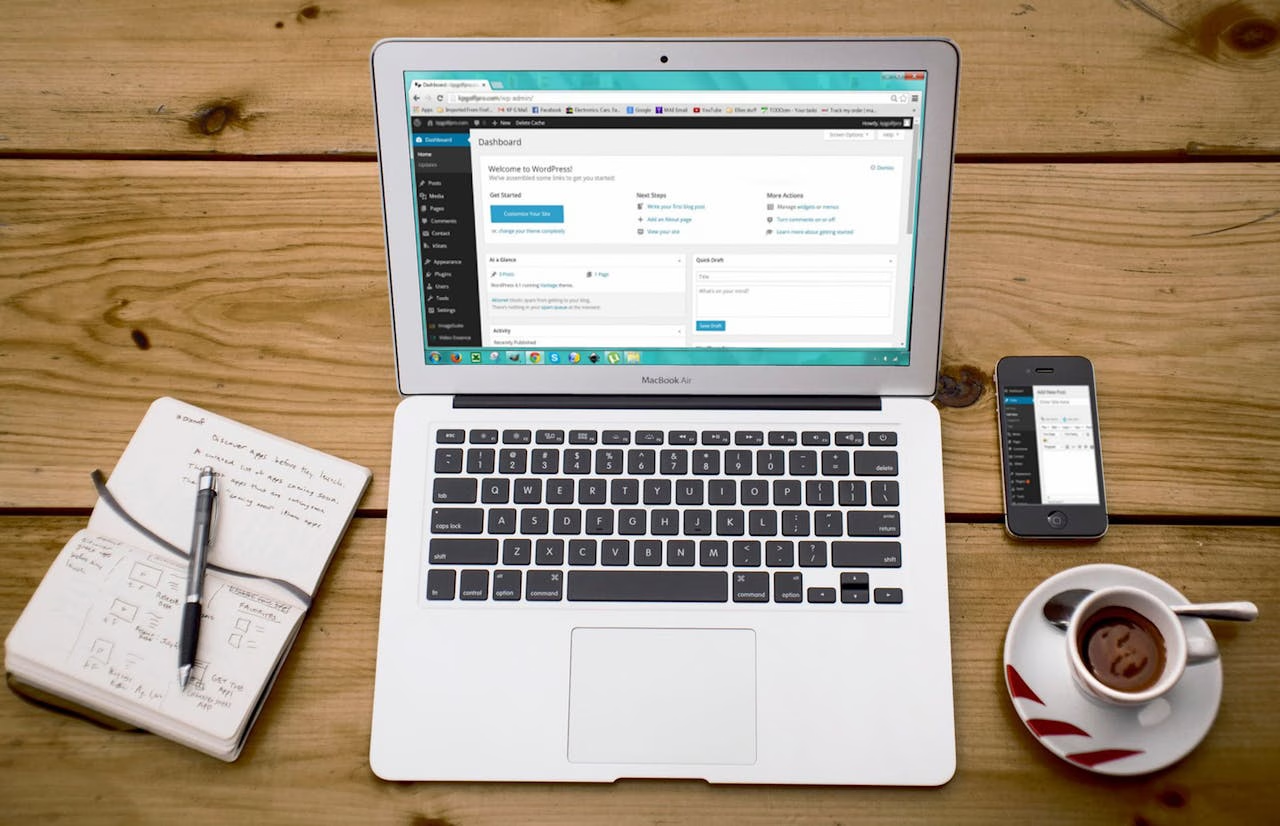
A step-by-step look into my process—from idea to launch and beyond!
Hiring a WordPress developer can feel overwhelming, especially if it’s your first time building a website. My goal is to make the process smooth, transparent, and collaborative—so you always know what’s happening and why.
Whether you’re starting with a ready-made design, exploring pre-built themes, or simply sharing websites you admire, I tailor every step of the project to suit your needs.
Here’s exactly what to expect when we work together:
1. Discovery Call: Getting to Know Each Other
The process always begins with a conversation. This isn’t a sales pitch—it’s a chance to get to know each other and see if we’re a good fit.
I’ll ask about your business, your goals for the website, and what you’re hoping to achieve. If you already have inspiration websites or a design file (like Figma or PSD), feel free to share it here.
I’ll also explain how I work, discuss my pricing structure, and answer any questions you have. Full transparency is important to me—I want you to feel confident before we move forward.
2. Defining the Scope & Functional Requirements
Once we agree to collaborate, I’ll map out exactly what needs to be done. This includes listing all the pages, features, and custom functionality your site will need.
For example:
- Do you need a booking system?
- Do you want user registration or gated content?
- Will you be selling products with WooCommerce?
- Are there forms, galleries, or special animations involved?
This is also the stage where I clarify what’s included and what falls outside the scope, so we avoid surprises later on.
3. Choosing the Right Tech Stack
Now that we understand the project, we’ll choose the best tools to bring it to life. Depending on your goals, this could include:
- Custom-coded WordPress themes
- Page builders like Elementor or Divi (if preferred)
- Advanced Custom Fields (ACF) for flexible content management
- WooCommerce for e-commerce
- Integration with CRMs, booking tools, or other platforms
If you’re not tech-savvy, don’t worry—I’ll explain everything in plain language and recommend what makes the most sense for your budget and future growth.
4. Designing the Project Workflow
With the scope and tools in place, I’ll create a custom project workflow tailored to your timeline and deliverables.
This includes:
- Milestone breakdowns (e.g., homepage, internal pages, functionality)
- Communication plan (how often we check in)
- Review points and approval stages
I use tools like Trello or Google Docs to keep everything organized and accessible.
5. Reconfirming the Flow With You
Before writing a single line of code, I’ll send over the full game plan—scope, timeline, tools, and responsibilities.
This gives you a final opportunity to review and make adjustments if needed. Once you’re happy, we lock it in and get started.
6. Timeline and Scheduling
We’ll set realistic deadlines for each part of the project and plan around any key launch dates you may have.
If your project is time-sensitive (like launching for an event or marketing campaign), I’ll make sure everything aligns with that goal. I always aim to underpromise and overdeliver.
7. Development Begins
With everything in place, I begin building the site. This includes:
- Setting up a development environment
- Coding the theme or setting up the builder
- Implementing all core functionality
- Making sure everything is mobile-responsive and SEO-friendly
I’ll send regular updates so you’re always in the loop.
8. Progress Updates & Check-Ins
Throughout the project, we’ll have check-ins to review progress, share feedback, and make minor course corrections if needed.
Depending on your preference, we can communicate through email, Slack, WhatsApp, or scheduled calls.
9. Quality Assurance (QA) Testing
Before we hand anything off, I go through a detailed QA process:
- Testing on all major browsers and screen sizes
- Checking forms, navigation, responsiveness, and speed
- Ensuring accessibility and performance
My goal is to deliver a polished product that works exactly as expected.
10. User Acceptance Testing (UAT)
Now it’s your turn to test! I’ll provide access to the staging site so you can explore everything, click around, and make sure it aligns with your vision.
You’ll be able to review functionality, content layout, and design before we move to the final phase.
11. Revisions & Adjustments
If any changes are needed during UAT, I’ll make adjustments based on the original scope. If something falls outside the scope—like adding new pages or features—we’ll chat about how to proceed, whether that means a new quote or a phase-two roadmap.
This ensures your budget is respected while still allowing flexibility.
12. Final Handover & Training
Once everything is approved, I prepare for the official launch:
- I move the site to your live server (or assist your hosting provider)
- I provide documentation so you know how to update content, manage products, or handle basic edits
- If needed, I’ll also walk you through the backend via Zoom or video tutorial
Even if you’re not tech-savvy, you’ll leave with the confidence to manage your site.
13. Post-Launch Support
The job doesn’t end at launch. I offer support for a set period (defined at the start) to fix bugs, answer questions, or help with any hiccups.
If you’d like ongoing support or maintenance, we can also set up a care plan that includes regular updates, backups, and monitoring.
Let’s Build Something That Works
I believe a website should be more than just good-looking—it should be functional, scalable, and easy for you to manage.
If this sounds like the kind of partnership you’re looking for, I’d love to hear from you. Let’s talk about your project, your goals, and how I can help bring them to life.
Have a project in mind? Let’s talk.